We had a lot of ideas about the design and format of our spaceship, but ultimately we settled on a spaceship that has an upgrade, which would be shown only through a pick-up in-game.
There were more ideas to be implemented and that I worked on but due to time restrictions we are keeping them out of the game. Ideas such as a 3-part upgrade system, which we downgraded to just one.
Also, originally enemies were actual beasts/aliens that would be flying at you, however this then changed to an alien-type spaceship.
These were a couple of my initial models for the enemies based on a team members concept art.
Making Enemy Spaceship


The wings were further made using topology tools so it would create a nice thin plane for me to use as a wing material.

This was created from concept-art given by a group-mate however once we decided to change ideas I stopped working on it.
Due to the nature of our game, enemies would be infinitely charging at you, in space, thus 'flying', these creatures simply did not make sense in our game, resulting in the change.

I was asked to do a golem-type spaceship, so I wanted something a little unusual in terms of a regular spaceship with interesting shapes, and final up by adding rocks and cracks instead of usual shiny or rusted metal. This was just a concept to get some ideas of where I wanted to take the shape as there was no concept art at this point.


The next enemy spaceship I made followed more insect-like traits but I added cracks by using brushes with alphas added. To make this ship I started with ZSpheres as I did with the other enemies and then started to append some hard-surfaces in and finally I dymeshed it all together so that I had one mesh to work with and develop shape with. I used specific brushes like trim dynamic and hPolish to achieve hard surfaces. Cracks were alphas on a standard brush with drag rectangle on so I could specifically place the cracks where I felt. Also this was where I broke symmetry and started to detail it a bit more.
Making character spaceship


On the left I made the main character spaceship with the idea in mind that it will be upgrading and have parts that could be hidden in-engine and will only appear when an event has triggered such as picking up a power up. The left and middle version are the non-upgraded versions while the one on the far right has additional wings and also 3 more pairs of guns on the wings. Additionally I have added further exhausts for a possible speed-boost upgrade.

Above I've used IMM brushes in Zbrush to add some more details on the spaceship giving it some more depth. IMM Brushes are insert multi-mesh brushes which allow me to add other small meshes such as nuts and bolts around the model.


Here I've upgraded the front guns on the wing by hollowing out the center and turning them into barrels rather than a solid mesh that nothing would fire out of.


Within ZBrush I began experimenting with different polypainting textures and seeing what would fit on the ship and look good in-game and not only within Maya or Zbrush.

I used ZRemesher to quickly get a low-poly obj of the spaceship and used automatic mapping. Within Zbrush I then imported the low-poly mesh with UV's and because I wasn't using the UV texture to paint the model I could not worry about that and just paint within ZBrush. I could then export out the texture map to see how it looked within Maya.


The three above ships were additional ideas and concepts that I had in mind. To me I found that the ship looked quite interesting when I duplicated it and rotated it so it would double-up the mesh. Although this look was too big and clunky for the kind of spaceship we had in mind so I stopped moving forward with that idea.


I started to get an idea of how I wanted the textures to look and by this point I was happy with the how I could polypaint it however if I had more time I would spend it on more detailed polypaints and possibly making more maps to add to the mesh for the game.


The completed spaceships ended up changing a little to previous concepts and ideas. Firstly we couldn't implement the upgrade system properly so we went with one design, however I thought it would be a good idea to add some form of customisation and that was in the form of multiple colours. I chose yellow, blue, green and orange as these are bright and strong colours that will be necessary because in-game has a lot happening on the screen, it needs to be obvious what the player is controlling.
Creating Asteroid Assets

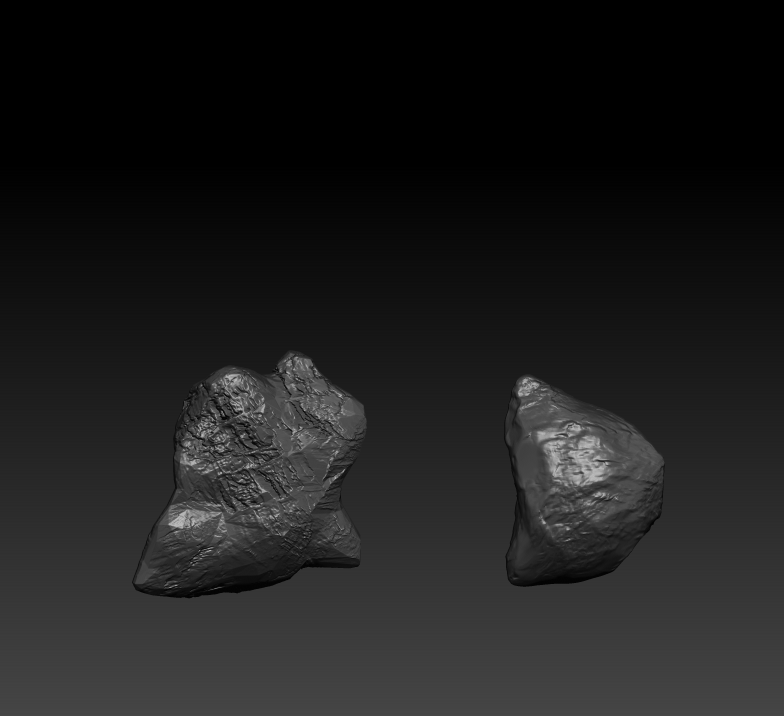
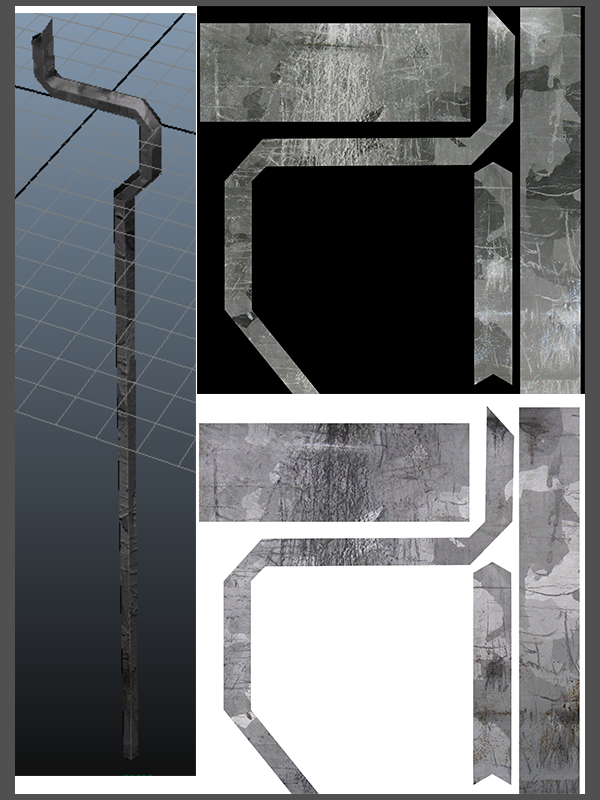
First, to make asteroids put into the game, I started with a sphere in ZBrush and just pulled pieces out using the move brush, and polishing using hPolish to achieve a stone material look. Finally I added scratch-type alphas on top. Again I used Zremesher to get a quick low polygon .obj file that I could get on texturing and seeing what I could get. The idea with these asteroids was that they should have gems in them, I thought blue fit the overall theme.


To add the sparkle in the gems, in my photoshop I hid everything but the gems, then proceeded to make the background black and overlay the gems with white. I saved this out and used this for specular, so that only the gems and the slight glow around would reflect and sparkle slightly. Additionally a bump map was added - I used the scratch alphas saved out from Zbrush to make this.
If I were to re-do certain things in this project, I would definitely spend the time to improve textures, but also to improve the topology of the game resolution meshes, I feel like I can get them a lot lower than they were and also more well optimized. Throughout the project I was working together closely with both the producer and coder, asking them questions about the game and whether ideas will fit in, or we have time enough for it.


.png)


