To start making the low-poly equipment of the Xiphos Sword, Spear and Spartan shield I used several programs. ZBrush to get high-detail information, XNormal to transfer that detail, Photoshop to build textures and maya to composite it all.
I exported out an .obj from ZBrush that I had used ZRemesher on to significantly bring the polycount down and more optimized for game engines.
Using XNormal, I loaded in both the high poly and low poly with UV's and was able to export out a normal map. With this I could then use that map as a bump map on my material. This gave my shield all the details from the high poly while maintaining around ~2k polygons.
I went for a bronze material and in photoshop I made the texture and brought it in maya and this completed the game ready version of the shield.
Unlike the shield I started off in Maya for this spear and then brought it into ZBrush to add final detailing that would be converted onto the normal map and finally applied as a bump map.
To begin starting the high poly model I first used ZSpheres to create a basic human male mesh, this was because I could use the anatomy of the male figure for various armour pieces by extracting out using masks.
I first started work on the skirt, first I made a hollow cylinder that I wrapped around the body in the correct position. Then I used the Move brush and the transpose tools to get it looking like a skirt.
The next part of the skirt was the individual pieces that come off from it and repeat all around. Using the feature in ZBrush called Array Mesh I was able to simply make one of these pieces and repeat it, and also even rotate all of them around a circle so all it took was some moving to get them into place.
The cape was made using a plane that I could manipulate into place.
I started to refine the torso piece to try and achieve a more hard-surface feel to it rather than it just being an extracted piece of anatomy. I mainly used a combination of Clay Buildup and HPolish to achieve the look I wanted to.
The Bracers were made by first extracting from the main mesh and then using clay buildup and again HPolish to make it feel metal and hard.
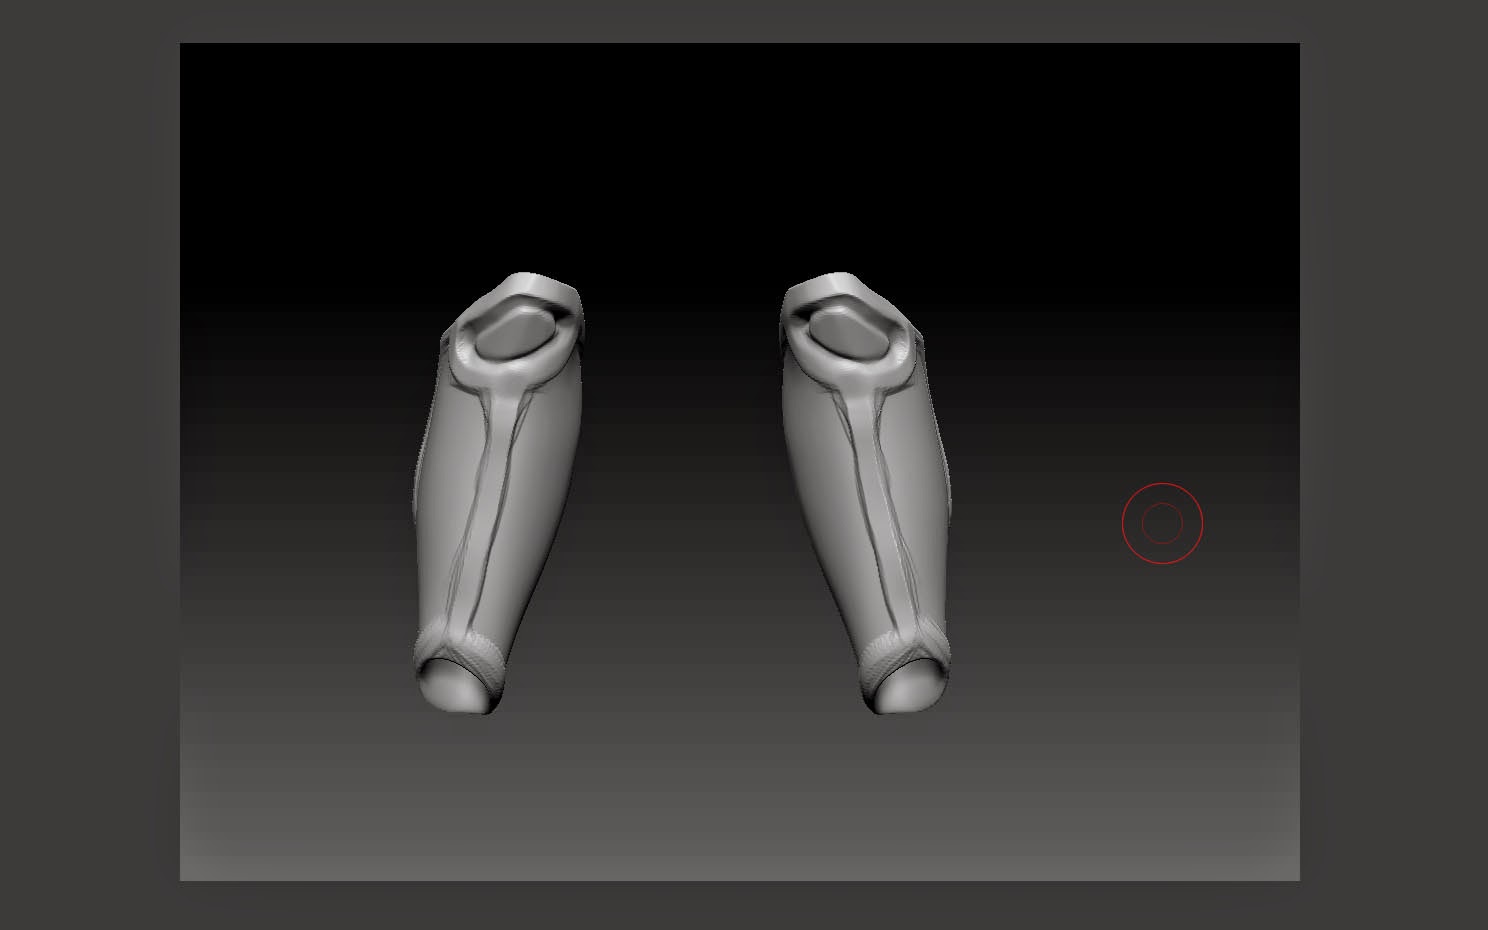
The same techniques were used on the leg-guards as the bracers.
Making the sandals was tricky and I think I could have done a much better job if I relied on using a modelling package such as Maya instead of using ZBrush for it all. The method I used was extracting individuals parts of the sandal and then building on top of it, adding detail and texture.
I made a rough face to work with as I'll need some reference when it comes to making the helmet. It wasn't a final face but since the majority of it is covered up I thought it would be fine.
I had trouble making the helmet at first because I didn't know how to get the shapes right and didn't want to use maya however I found quite an easy way to achieve those shapes. I simply made a sphere, deformed it so it was around the helmet size, and then drew a mask on it that I could use for the front part of the helmet. Lastly I used fibermesh to finish the helmet.
Since the majority of the sword was done in Maya it was simple to start work on it and get it looking complete. First I used the Hpolish brush and also the trim dynamic brush to get the blade looking more sharp. Then I extracted out a sword holster using the blade and could just smooth it out.
The detailing on the handle was done using clay tubes and symmetry in two axis'. Lastly using the Blob brush on spray I made the blade look like it's seen battle.
Most of the detailing in the shield was just wear and tear. I predominately used the Dam Standard brush to achieve scratches and clean cuts throughout the shield. I also used the noise feature in ZBrush to make it look like it's not a new shield.
The final touches on the model were just adding little bits of detail all over. Mostly it was the case of adding wear and tear to all of the metal pieces. The Blob brush on spray was my tool of choice for a battered look and Dam Standard for all the scratches. It's important to note too that this was when I broke from using symmetry on the model as a whole.
I created a quick rock just for test rendering purposes. I brought everything into Keyshot where I was able to drag and drop textures and render out a high quality image and also a turntable.